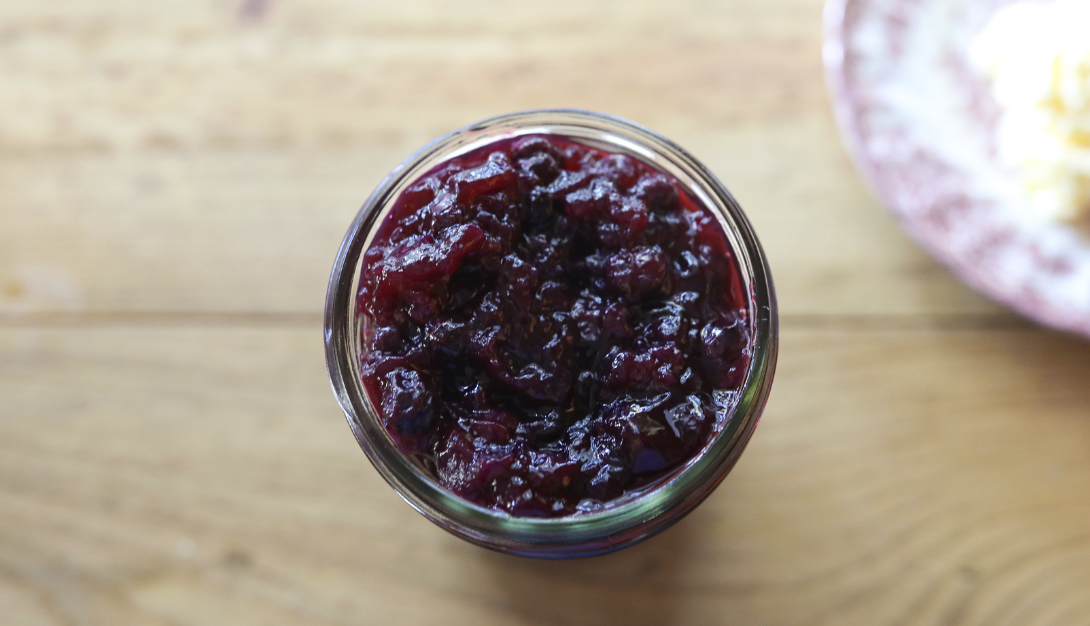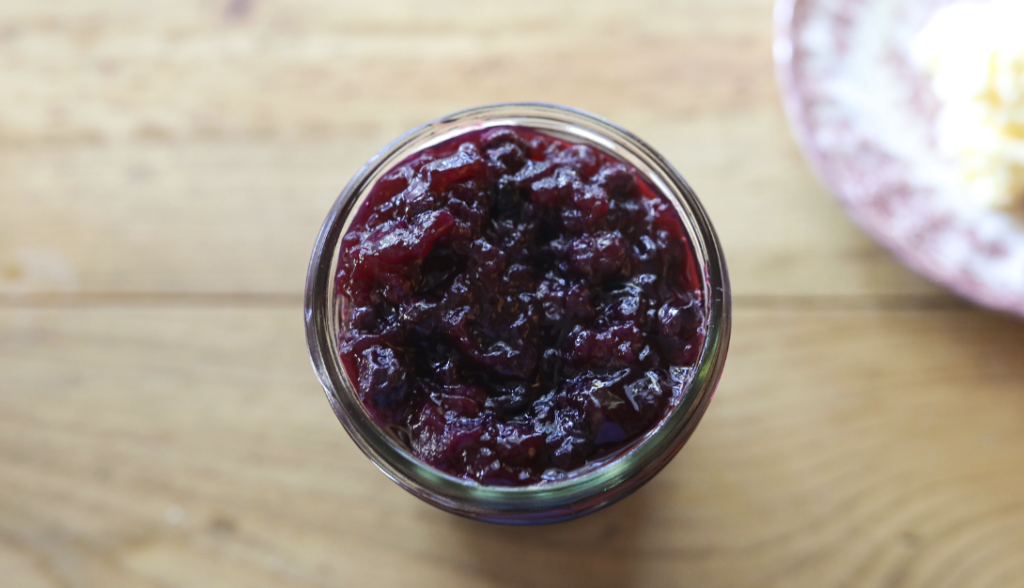
Making jam at home is one of my favorite and cost-effective solutions to have a delicious spread. For generations, people have been using it to keep their favorite fruits fresh all year round, but forget about the idea of hard work and big pots—homemade jam can be easy, and you don’t need fancy equipment. The best part? You can make a batch in just about 30 minutes.
Today on the blog, let’s talk all about a beginner’s jam recipe for whipping up the perfect preserve every time. This tasty spread is just what you need to jazz up any sweet treat!
Introduction To Jam Making
Making jam is a fun and tasty way to preserve your favorite fruits. Whether you’re using strawberries, raspberries, or any other fruit, homemade jam is a popular treat that can be enjoyed all year round. By making your own jam, you control what goes into it, ensuring a fresh and flavorful spread every time. Plus, it’s a great way to use up excess fruit before it goes bad. In this beginner’s guide, we’ll walk you through the simple steps to creating delicious jam that your family and friends will love.
Which Fruit Is Best To Make Jam With?
The first step to making homemade jam is choosing the right fruit. Fresh, ripe fruit is best, but high-quality frozen fruit works just as well too. Whether you prefer classic strawberries or something more tropical like mangoes, the choice is all up to you. Above all, I’d consider what’s in season for the freshest flavors, and don’t be afraid to mix and match fruits for unique blends. There is no wrong choice here, so just get creative and have fun trying something new.
How To Achieve The Perfect Jam Consistency
The key to a successful jam is getting the right consistency. You want it to be thick and spreadable, not too runny or too stiff. To achieve this, you’ll need to cook the fruit mixture until it thickens, but watch to make sure it doesn’t become overly thick (or burns).
You can test your jam consistency by spooning a small amount onto a chilled plate and seeing if it wrinkles when you push it with your finger. If it does, it’s ready! If not, keep simmering and testing until it’s just right. Adding a bit of cornstarch can help if it’s too runny and you feel like you’ve cooked it for long enough. In my experience, it takes about 20-30 minutes cooking at around 200 degrees.
Beginner’s Jam Recipe:

Jam Recipe Ingredients
- 2 cups fresh or frozen fruit
- 1 cup of pure cane sugar or coconut sugar
- 1 tablespoon of lemon juice
- 1 tablespoon of cornstarch, (only if your jam is too runny)
Jam Recipe Steps
- Wash and prepare your fruit. If using strawberries, remove the stems and chop into small pieces. If using other berries, you can leave them whole or chop them if desired.
- In a large saucepan, combine the fruit, sugar of choice, and lemon juice. Stir well to combine.
- Place the saucepan over medium heat and bring the mixture to a boil, stirring occasionally.
- Once boiling, reduce the heat to low and let the mixture simmer for about 20-30 minutes, or until it thickens and reaches a jam-like consistency. Stir occasionally to prevent sticking.
- To test if the jam is ready, place a small amount on a chilled plate and let it cool for a few seconds. If it wrinkles when you push it with your finger, it’s done. If not, continue simmering for a few more minutes and test again. This is where you can add the cornstarch if needed/wanted.
- Once the jam is ready, remove the saucepan from the heat and let it cool for a few minutes.
- Transfer the jam into clean, sterilized jars, leaving a little bit of space at the top. Seal the jars tightly.
How To Preserve Jam
If you plan to store the jam for a longer period, it’s important to properly preserve it to prevent spoilage. There are two common methods for preserving jam: water bath canning and refrigerator/freezer storage. Water bath canning is sealing a jar using the pressure from boiling water, while refrigerator / freezer storage is the typical storage method you’d think of.
Here is how to preserve jam using each option:
Water Bath Canning Method
- Fill a large pot with water and bring it to a boil. Make sure to leave a 1/2 inch headspace and only tighten the jars to fingertip tight.
- Place the sealed jars of jam into the boiling water, making sure they are fully submerged.
- Let the jars process in the boiling water for about 10-15 minutes.
- Carefully remove the jars from the water using jar tongs and place them on a towel-lined countertop to cool.
- As the jars cool, you may hear a popping sound, which indicates that the jars are properly sealed.
- Once cooled, check the seals by pressing down on the center of the lids. If the lids do not flex or pop back, the jars are sealed. If any jars did not seal properly, refrigerate and consume those first.
Refrigerator / Freezer Storage
- If you prefer a simpler method, you can skip the water bath canning and store the jam in the refrigerator or freezer. Make sure to leave a 1/2 inch headspace and only tighten the jars to fingertip tight.
- Let the jars of jam cool completely at room temperature.
- Once cooled, place the jars in the refrigerator for short-term storage (up to a few weeks) or in the freezer for longer-term storage (up to several months).
- When ready to use, thaw frozen jam in the refrigerator overnight. Remember to label your jars with the date and type of jam for easy reference.

Beginner’s Jam Recipe
Ingredients
- 2 cups fresh or frozen fruit
- 1 cup pure cane sugar or coconut sugar
- 1 tbsp lemon juice
- 1 tbsp cornstarch (only if your jam is too runny)
Instructions
- Wash and prepare your fruit. If using strawberries, remove the stems and chop into small pieces. If using other berries, you can leave them whole or chop them if desired.
- In a large saucepan, combine the fruit, sugar of choice, and lemon juice. Stir well to combine.
- Place the saucepan over medium heat and bring the mixture to a boil, stirring occasionally.
- Once boiling, reduce the heat to low and let the mixture simmer for about 20-30 minutes, or until it thickens and reaches a jam-like consistency. Stir occasionally to prevent sticking.
- To test if the jam is ready, place a small amount on a chilled plate and let it cool for a few seconds. If it wrinkles when you push it with your finger, it's done. If not, continue simmering for a few more minutes and test again. This is where you can add the cornstarch if needed/wanted.
- Once the jam is ready, remove the saucepan from the heat and let it cool for a few minutes.
- Transfer the jam into clean, sterilized jars, leaving a little bit of space at the top. Seal the jars tightly.

Have you ever tried making your own jam before? Let me know in the comments! And to keep up with the latest recipes on the blog, check out my recent posts:
