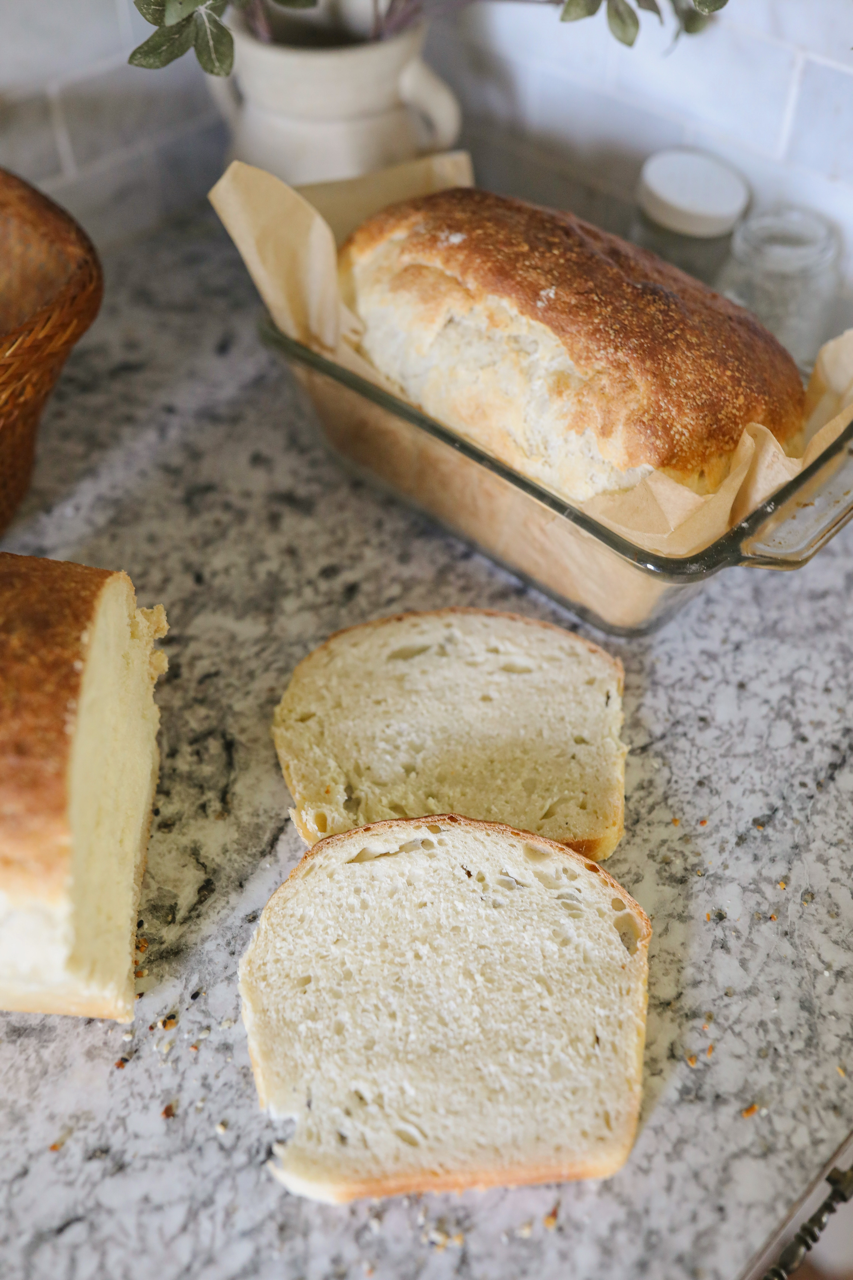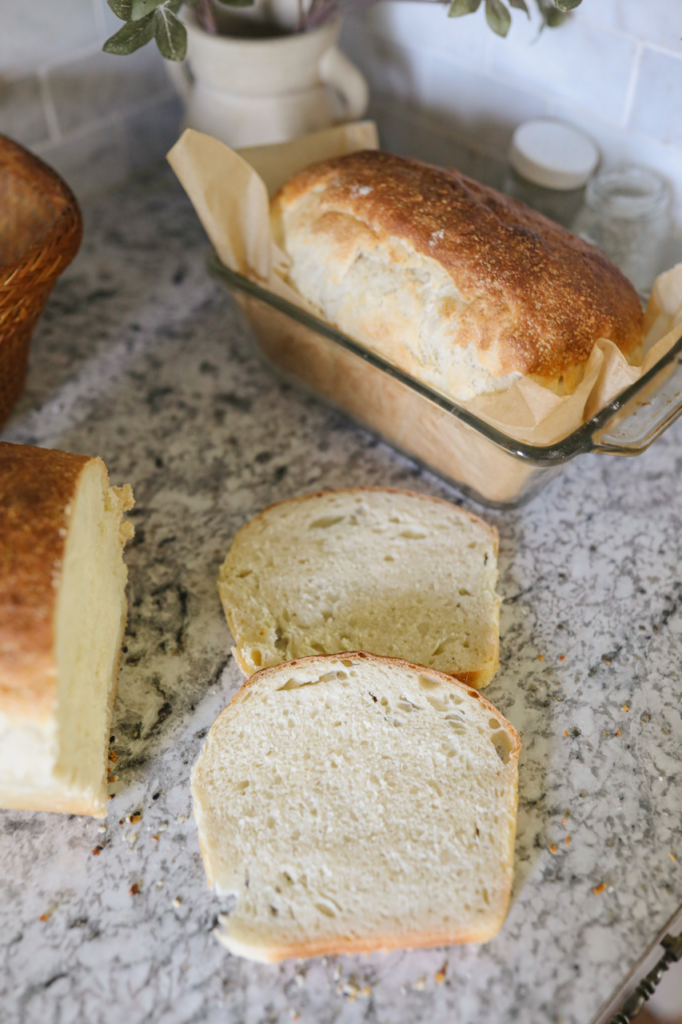
Welcome back to my homestead kitchen, my dear friends! Today, I’m thrilled to share with you a recipe that has become the backbone of our family’s daily nourishment—the only Sourdough Sandwich Bread recipe you’ll ever need! This bread is a labor of love, a testament to the beauty and simplicity of creating something truly wholesome from scratch. With a crispy crust, a tender, airy crumb, and that distinct sourdough tang, this bread is perfect for all your sandwich needs, and it’s a favorite among my little ones.

Embracing the art of sourdough baking might seem daunting at first. The idea of nurturing a starter, understanding fermentation, and achieving the perfect rise can feel like a leap into the unknown. But just like learning any new skill, with a bit of patience and practice, making sourdough bread can become a useful and rewarding part of your everyday life. Plus, the health and cost benefits are immense. The sourdough process not only enhances the flavor and texture of the bread but also makes it more digestible and nutritious than bread you’d find on the shelves.

Sourdough Sandwich Bread Recipe
Equipment
- Bread Pans
- Digital Scale
- Bowls
- Kitchen Cloth
- Proofing Basket
Ingredients
- 735 grams Warm Water
- 255 grams Sourdough Starter
- 1050 grames All Purpose or Bread Flour
- 50 grams Oil Avocado
- 40 grams Maple Syrup
- 20 grams Fine Salt
Instructions
- To Start: In a large mixing bowl, combine warm water and sourdough starter. Mix until frothy.
- Mix the Dough: Add the rest of the ingredients to the bowl. Mix until fully incorporated. Cover and let it sit for 20 minutes.
- First Stretch and Folds: After 20 minutes, stretch and fold the dough over itself about 7 times. Let it rest for an additional 15 minutes and then repeat the stretch and folds. Continue this process of "stretch and folds" followed by a 15-minute rest, 4 times in total.
- Fermentation Once finished with the stretch and folds, cover and let the dough rise until doubled in size.If your house is warm, this may take about 3-4 hours. Alternatively, you can place it in the fridge overnight for a slower fermentation process and resume steps 5-9 the next morning.
- Shaping the Dough: Dump the dough onto a floured work surface and divide it in half.Shape each dough ball into loaves by making the dough into a rectangle, folding it like a book, and then rolling it up.
- Creating Tension: After they are rolled up, create tension in the dough by pushing it away from you and then pulling it towards you.Repeat this process until the dough feels bouncy and cohesive. Keep the shape of a rectangle in mind to fit better in loaf pans. You can also shape it into round loaves if preferred.
- Second Rise: Place the dough into bread pans or a proofing basket (if making a round loaf).Let it rise for an additional 1 hour (may vary depending on the temperature in your house).Preheat the oven to 400°F.
- Baking: Once proofed, the dough should be about 1 inch taller than the bread pan.If making a round loaf, this is the time to score the loaf with your desired design.Mist the dough with some water and place it in the oven.Bake for 35 minutes or until the bread reaches an internal temperature of 200°F.
- Cooling: Take the bread out of the oven and let it cool for at least 1-2 hours before slicing to achieve the best results.Don't forget to take a photo and tag me with your beautiful bread! Enjoy!
The Ultimate Sourdough Sandwich Bread Recipe:
Ingredients:
- 735 grams Warm Water
- 255 grams Sourdough Starter
- 1050 grames All Purpose or Bread Flour
- 50 grams Oil Avocado
- 40 grams Maple Syrup
- 20 grams Fine Salt
Tools Needed:
- Digital scale (for accuracy)
- Proofing basket
- Bread pans
- Bread lame (for scoring)
- Dough scraper
- Dough whisk
Before we dive into the recipe, remember that a good sourdough starts with a robust sourdough starter. If you’re new to sourdough, I’ve shared my go-to recipe for creating a vibrant starter from scratch, along with tips for keeping it alive and thriving. And for a more in-depth exploration of sourdough baking, including video tutorials, be sure to check out my guide, Staples Made Simple
Sourdough Sandwich Bread Recipe
Ingredients:
- 735 grams Warm Water
- 255 grams Sourdough Starter
- 1050 grames All Purpose or Bread Flour
- 50 grams Oil Avocado
- 40 grams Maple Syrup
- 20 grams Fine Salt
Instructions:
- Prepare the Starter Mixture:
- In a large mixing bowl, combine warm water and sourdough starter.
- Mix until frothy.
- Mix the Dough:
- Add the rest of the ingredients to the bowl.
- Mix until fully incorporated.
- Cover and let it sit for 20 minutes.
- First Stretch and Folds:
- After 20 minutes, stretch and fold the dough over itself about 7 times, as demonstrated in the video.
- Let it rest for an additional 15 minutes and then repeat the stretch and folds.
- Continue this process of “stretch and folds” followed by a 15-minute rest, 4 times in total.
- Fermentation:
- Once finished with the stretch and folds, cover and let the dough rise until doubled in size.
- If your house is warm, this may take about 3-4 hours. Alternatively, you can place it in the fridge overnight for a slower fermentation process and resume steps 5-9 the next morning.
- Shaping the Dough:
- Dump the dough onto a floured work surface and divide it in half.
- Shape each dough ball into loaves by making the dough into a rectangle, folding it like a book, and then rolling it up.
- Creating Tension:
- After they are rolled up, create tension in the dough by pushing it away from you and then pulling it towards you.
- Repeat this process until the dough feels bouncy and cohesive. Keep the shape of a rectangle in mind to fit better in loaf pans. You can also shape it into round loaves if preferred.
- Second Rise:
- Place the dough into bread pans or a proofing basket (if making a round loaf).
- Let it rise for an additional 1 hour (may vary depending on the temperature in your house).
- Preheat the oven to 400°F.
- Baking:
- Once proofed, the dough should be about 1 inch taller than the bread pan.
- If making a round loaf, this is the time to score the loaf with your desired design.
- Mist the dough with some water and place it in the oven.
- Bake for 35 minutes or until the bread reaches an internal temperature of 200°F.
- Cooling:
- Take the bread out of the oven and let it cool for at least 1-2 hours before slicing to achieve the best results.
- Don’t forget to take a photo and tag me with your beautiful bread! Enjoy!
This Sourdough Sandwich Bread is not just delicious; it’s a versatile staple that can support everything from the classic PB&J to the most gourmet of sandwiches. The texture is perfect—sturdy yet tender—making it suitable for toasting or enjoying as is.
By now, I hope you’re inspired to roll up your sleeves and dive into the world of sourdough baking. The journey from starter to loaf is filled with moments of wonder, anticipation, and the joy of sharing freshly baked bread with those you love.
Continuing from where we left off, let’s dive deeper into the wonders of our Sourdough Sandwich Bread and how to get the most out of your baking experience.
Tips for An Almost Perfect Loaf
Achieving that “almost perfect” loaf is a journey filled with learning and experimentation. Here are a few tips to help you along the way:
- Temperature is Key: The temperature of your kitchen can significantly affect the rise and fermentation of your dough. Aim for a consistent room temperature, and if your kitchen is on the cooler side, consider finding a warmer spot for the dough to rest.
- Hydration Matters: Depending on the flour you’re using and the humidity in your kitchen, you might need to adjust the water content in your recipe. Start with the recommended amount, but don’t be afraid to add a little more if the dough feels too stiff.
- Scoring: Scoring your dough right before baking isn’t just for aesthetics; it helps control the direction in which the bread will expand. A deep, decisive slash can make all the difference in the oven spring.
- Patience Pays Off: Allow your bread to cool completely before slicing into it. Cutting too soon can result in a gummy texture.
Embracing Imperfection
Sourdough baking is as much an art as it is a science. Every loaf tells the story of its creation, from the bubbling start of the starter to the warmth of the oven that transforms dough into bread. It’s important to remember that not every loaf will be perfect, and that’s perfectly okay. Sourdough is forgiving, and even loaves that don’t turn out exactly as we hoped are often still a joy to eat.
Embrace the imperfections and learn from them. Each bake is an opportunity to refine your technique, adjust your recipes, and grow as a baker. The key is persistence and a willingness to experiment.
And when you find yourself in need of inspiration or guidance, my guide “Staples Made Simple” is here to accompany you on your baking adventures. With over 100+ recipes, including an in-depth look at sourdough from starter to finish, and a video tutorial to guide you, it’s an invaluable resource for anyone looking to delve deeper into the world of scratch-made foods. Available for download or print, it invites you to mark the pages, make notes, and truly make it your own!
